Home Server Starter Guide: What to Self-Host First
Gearabout is reader-supported. When you buy through links on this page, we may earn a small commission — at no extra cost to you. Learn more.
Self-hosting is one of the most satisfying rabbit holes in tech. You take back control of your data, cut monthly subscriptions, and learn real system administration along the way. But if you’re just starting, the sheer number of services people run can be paralyzing. Where do you actually begin?
This guide lays out a sensible path: what to self-host first, in what order, and why — so you build momentum with quick wins before tackling the ambitious stuff. You don’t need to run everything at once. Start with one or two services, get comfortable, and grow from there.
Before you start: the foundation
You need three things to begin self-hosting:
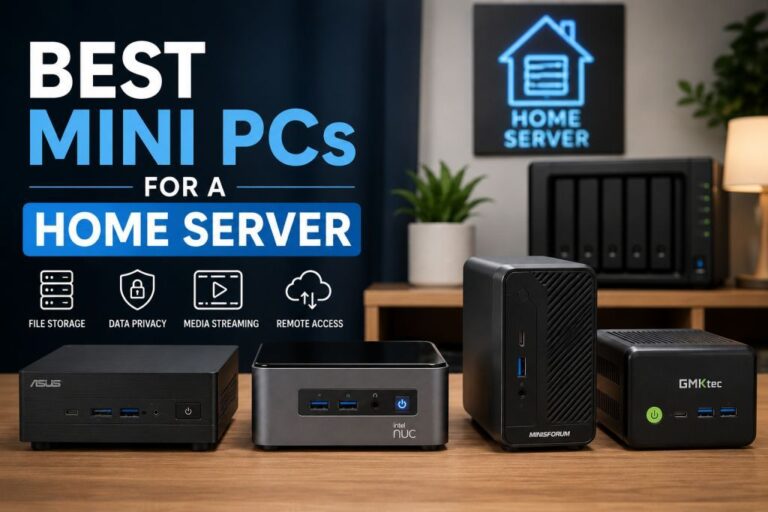
1. Hardware. A always-on machine to run your services. A mini PC is the ideal starting point — small, silent, low-power, and far more capable than a Raspberry Pi for most workloads. Budget at least 16GB of RAM (services add up fast, roughly 1GB each) and an NVMe SSD.
2. An operating system and a way to run services. Most self-hosters run a Linux OS and use Docker (with Docker Compose) to run each service in a container. Containers keep everything isolated and make installing, updating, and removing services dramatically easier than installing them directly. Learning Docker is the single highest-value skill for self-hosting — it’s worth the initial effort.
3. A way to reach your server. For accessing services on your home network, you just use the server’s local IP. To reach them from outside your home, the easiest secure method is Tailscale, a mesh VPN that needs minimal setup. (The traditional alternative — a reverse proxy with your own domain and SSL — is more powerful but more work; save it for later.)
With those in place, you’re ready to host.
Tier 1: Start here (quick wins)
These are the services almost everyone starts with. They’re easy to set up, immediately useful, and build your confidence.
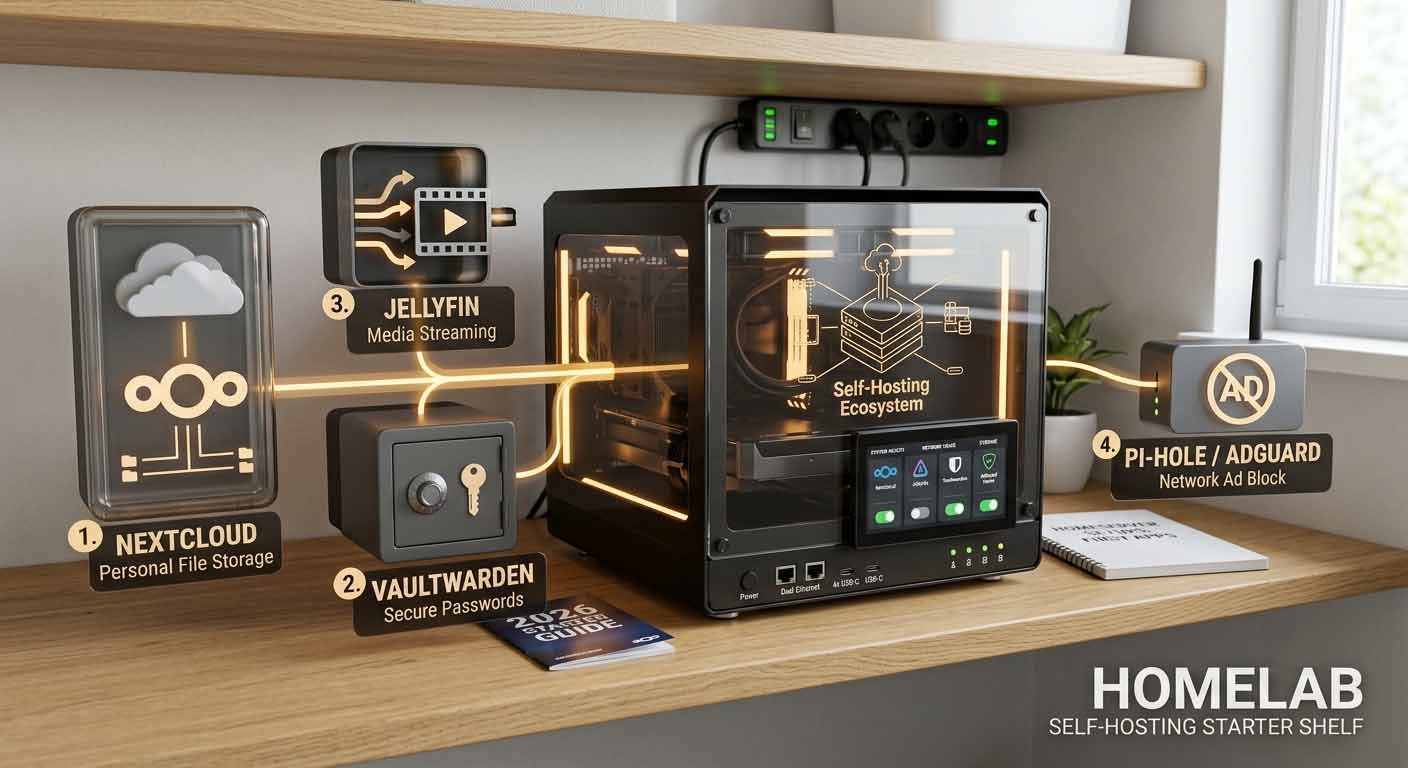
Pi-hole (or AdGuard Home) — network-wide ad blocking. This is the classic first self-hosted service, and for good reason. Pi-hole acts as your network’s DNS server and blocks ads and trackers for every device in your home — phones, TVs, laptops — without installing anything on them. It’s genuinely useful from day one, lightweight, and a perfect introduction to running a service. Start here.
Uptime Kuma — monitoring. A clean, simple dashboard that watches your other services and notifies you if something goes down. As you add more services, you’ll want this. It’s trivial to set up and immediately reassuring.
A password manager (Vaultwarden). Vaultwarden is a lightweight, self-hosted implementation compatible with Bitwarden’s apps. Hosting your own means your passwords live on your hardware, not someone else’s cloud. It’s a high-value, moderate-difficulty early project once you’ve got Docker basics down.
Tier 2: The crowd-pleasers
Once you’re comfortable running a couple of services, these are the ones that make self-hosting feel worthwhile — and often justify the whole setup to family members.
Jellyfin or Plex — your own media server. Stream your movies, TV, and music to any device, in your home or remotely. Jellyfin is fully free and open-source; Plex is more polished with a paid tier. This is often the “killer app” that convinces people to self-host. One important hardware note: media servers benefit enormously from hardware transcoding, and Intel chips with Quick Sync (the N100/N150 family) handle this efficiently even on a low-power mini PC — worth knowing when you choose hardware.
Nextcloud — your own cloud storage. A self-hosted alternative to Dropbox or Google Drive: file sync, sharing, calendar, contacts, and more. It replaces real subscriptions with your own storage. It’s more resource-hungry than the Tier 1 services (it wants a database and a decent chunk of RAM), so it’s a good “second month” project.
Immich — photo backup. A self-hosted Google Photos alternative with automatic phone backup, face recognition, and a slick mobile app. For anyone uneasy about handing their entire photo library to a cloud provider, Immich is a revelation. Note it uses AI features that appreciate more RAM — another reason to buy 16GB+ up front.
Tier 3: Once you’re hooked
By now you understand Docker, networking, and remote access. These are the projects that turn a home server into a genuine homelab.
Home Assistant — smart home hub. Local control of your smart home devices, free from the cloud. Powerful and endlessly extensible, with a steeper learning curve.
A reverse proxy (Nginx Proxy Manager / Traefik) + your own domain. Give each service a clean URL with proper SSL certificates instead of IP-and-port addresses. This is the “grown-up” way to expose services and a satisfying upgrade.
Proxmox and virtual machines. Instead of running everything on one OS, Proxmox lets you run multiple virtual machines and containers on one box — separating workloads, testing safely, and running different operating systems. This is where a more powerful mini PC (with 32GB+ RAM and multiple cores) starts to matter.
*The arr stack, Vaultwarden, document management (Paperless-ngx), RSS readers, and more — the ecosystem is vast. By this point you’ll be choosing based on your own needs.
A sensible first-month plan
If you want a concrete path, try this:
- Week 1: Set up your mini PC with Linux and Docker. Get Pi-hole running. Enjoy network-wide ad blocking.
- Week 2: Add Uptime Kuma and set up Tailscale for secure remote access.
- Week 3: Stand up a media server (Jellyfin) and point it at your files.
- Week 4: Tackle Nextcloud or Immich to replace a cloud subscription.
That’s a realistic, momentum-building month that leaves you with genuinely useful services and the skills to keep going.
How much hardware do you actually need?
For the Tier 1 and Tier 2 services above, a budget mini PC with a modern Intel N100 or N150, 16GB of RAM, and a 512GB NVMe SSD is plenty — and sips power running 24/7. If you know you’ll head into Proxmox and virtual machines (Tier 3), consider a more powerful box with a Ryzen chip and support for 32–64GB of RAM so you don’t hit a wall.
The key figures to remember: 16GB RAM minimum, budget roughly 1GB per service, favor Intel if a media server is in your plans (for Quick Sync transcoding), and get NVMe storage for speed.
Frequently asked questions
It helps, but you can learn as you go. Most services run in Docker containers, which abstract away a lot of the complexity. Basic command-line comfort and a willingness to follow tutorials are enough to start. Self-hosting is itself a great way to learn Linux.
It can be, if you follow sensible practices: keep services updated, use strong passwords, and don’t expose services directly to the internet without protection. Using Tailscale for remote access (rather than opening ports) is much safer for beginners.
Very little. A modern Intel mini PC idles at roughly 6–10 watts, so the electricity cost is minimal. For most people replacing several cloud subscriptions, a self-hosted setup pays for itself within a couple of years.
Pi-hole is the classic first service — it’s easy, immediately useful (network-wide ad blocking), and a gentle introduction to running a service. From there, add a media server and cloud storage as your confidence grows.
For most people, a mini PC is the better starting point — more RAM, faster NVMe storage, and Intel Quick Sync for media transcoding, usually for not much more than a fully-equipped Pi. A Pi is best if you specifically want low power or GPIO hardware projects.
The bottom line
The secret to self-hosting is to start small. Get a capable mini PC, learn Docker, and stand up one genuinely useful service — Pi-hole is the perfect first win. Add a media server and cloud storage once you’re comfortable, and let your homelab grow from there. You don’t need to run everything on day one; you just need to start.
→ Need the hardware? See our picks for the best mini PCs for a home server.